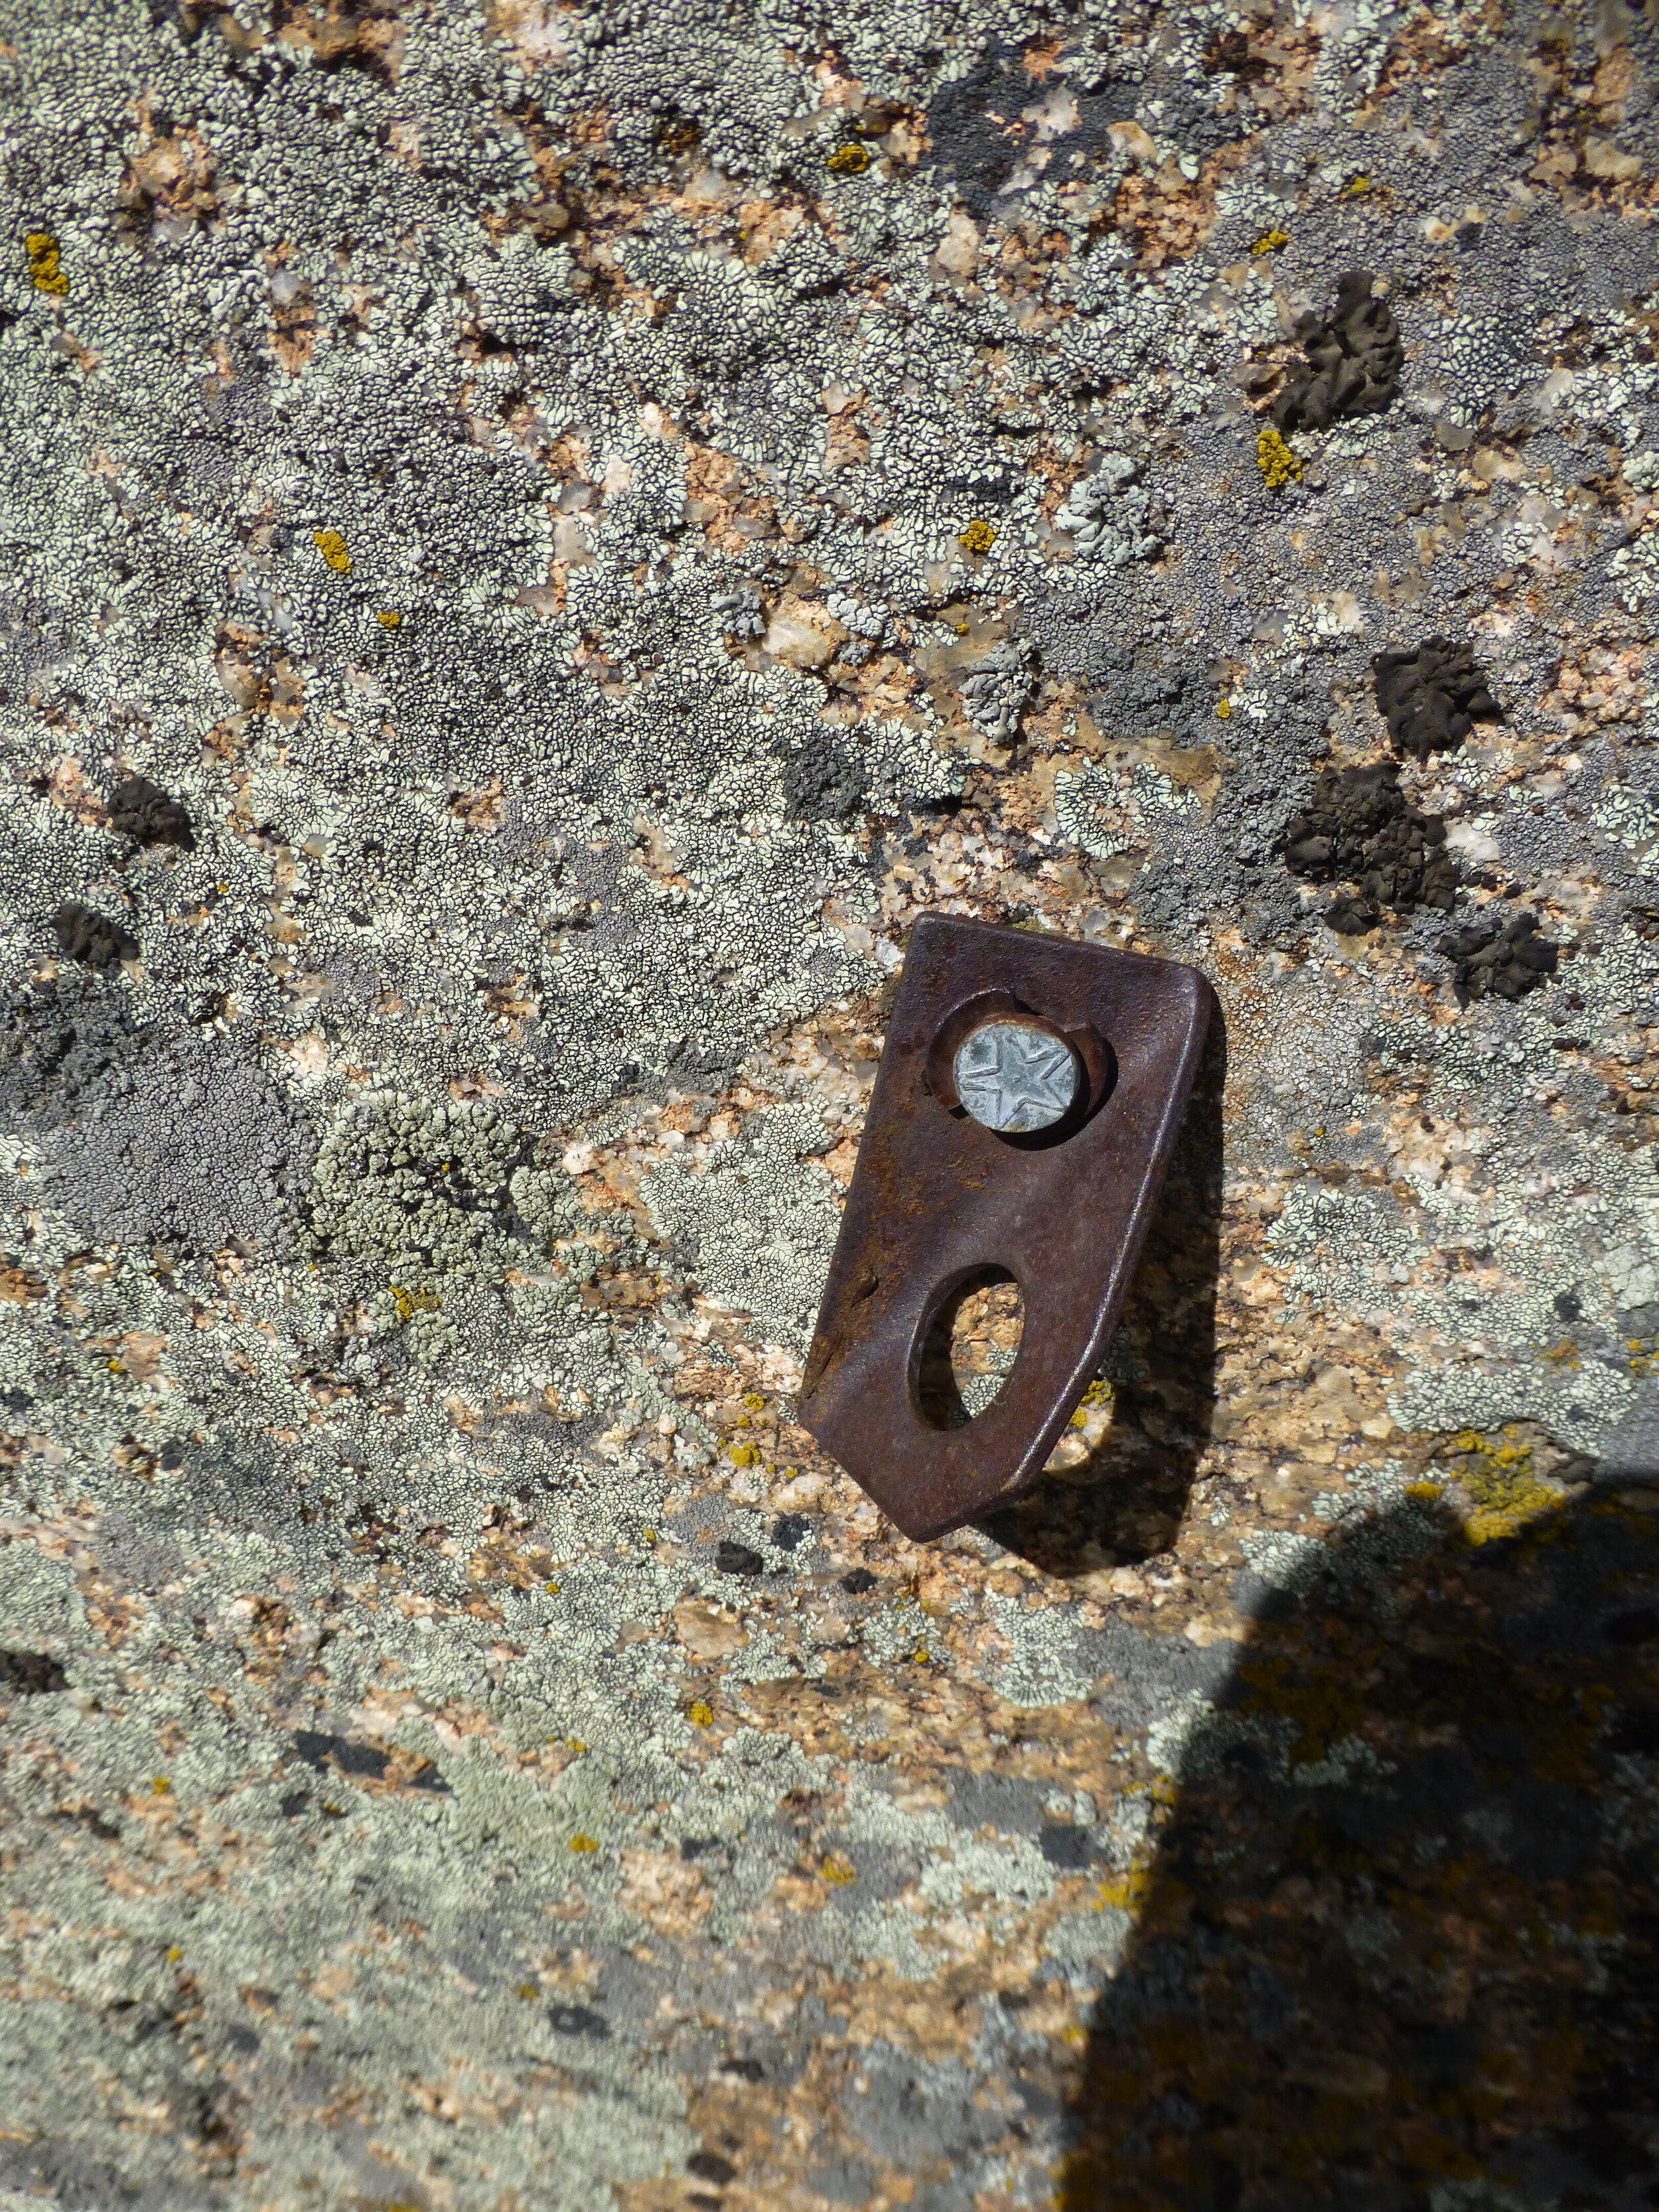
star dryvin bolt removal
Video courtesy of The Access Fund
tools for the job:
Hammer
“Tuning fork” (piton with the center milled out to allow passage around the bolt)
Thin pry bar or second tuning fork
“Funkness” device
Hole/tube brush
Blow pump/tube
3/8” lag bolt
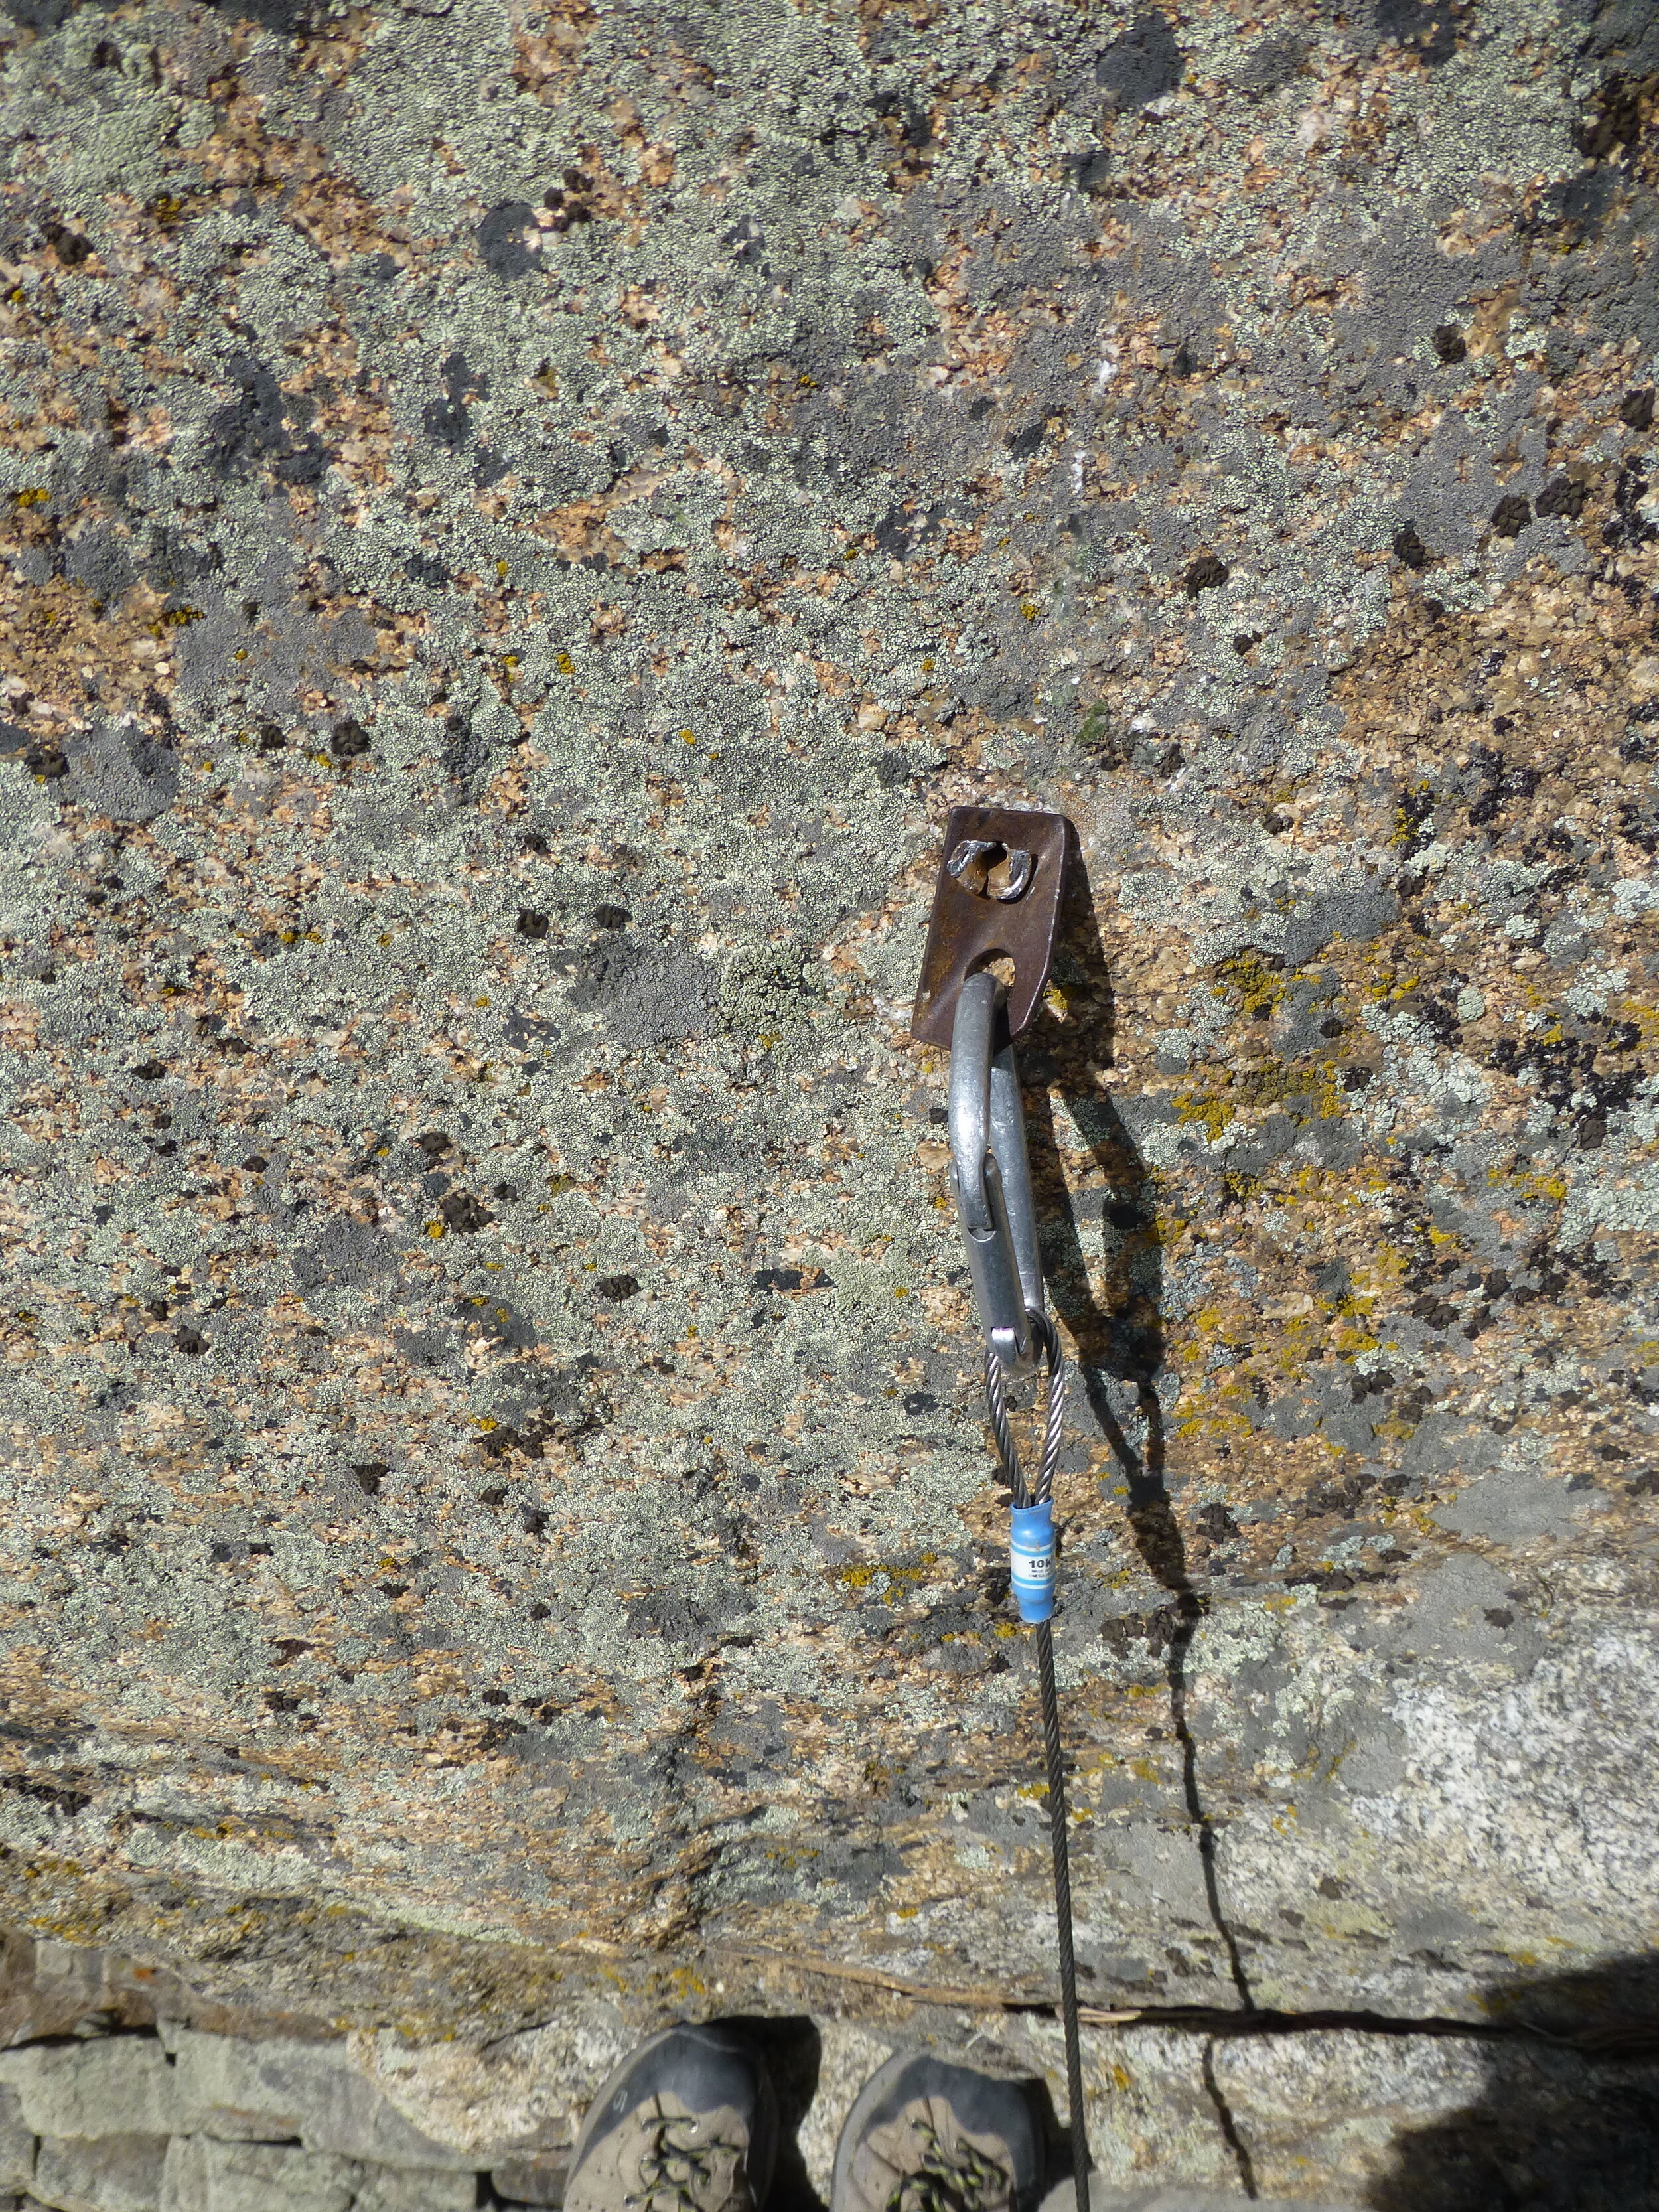
pull the bolt:
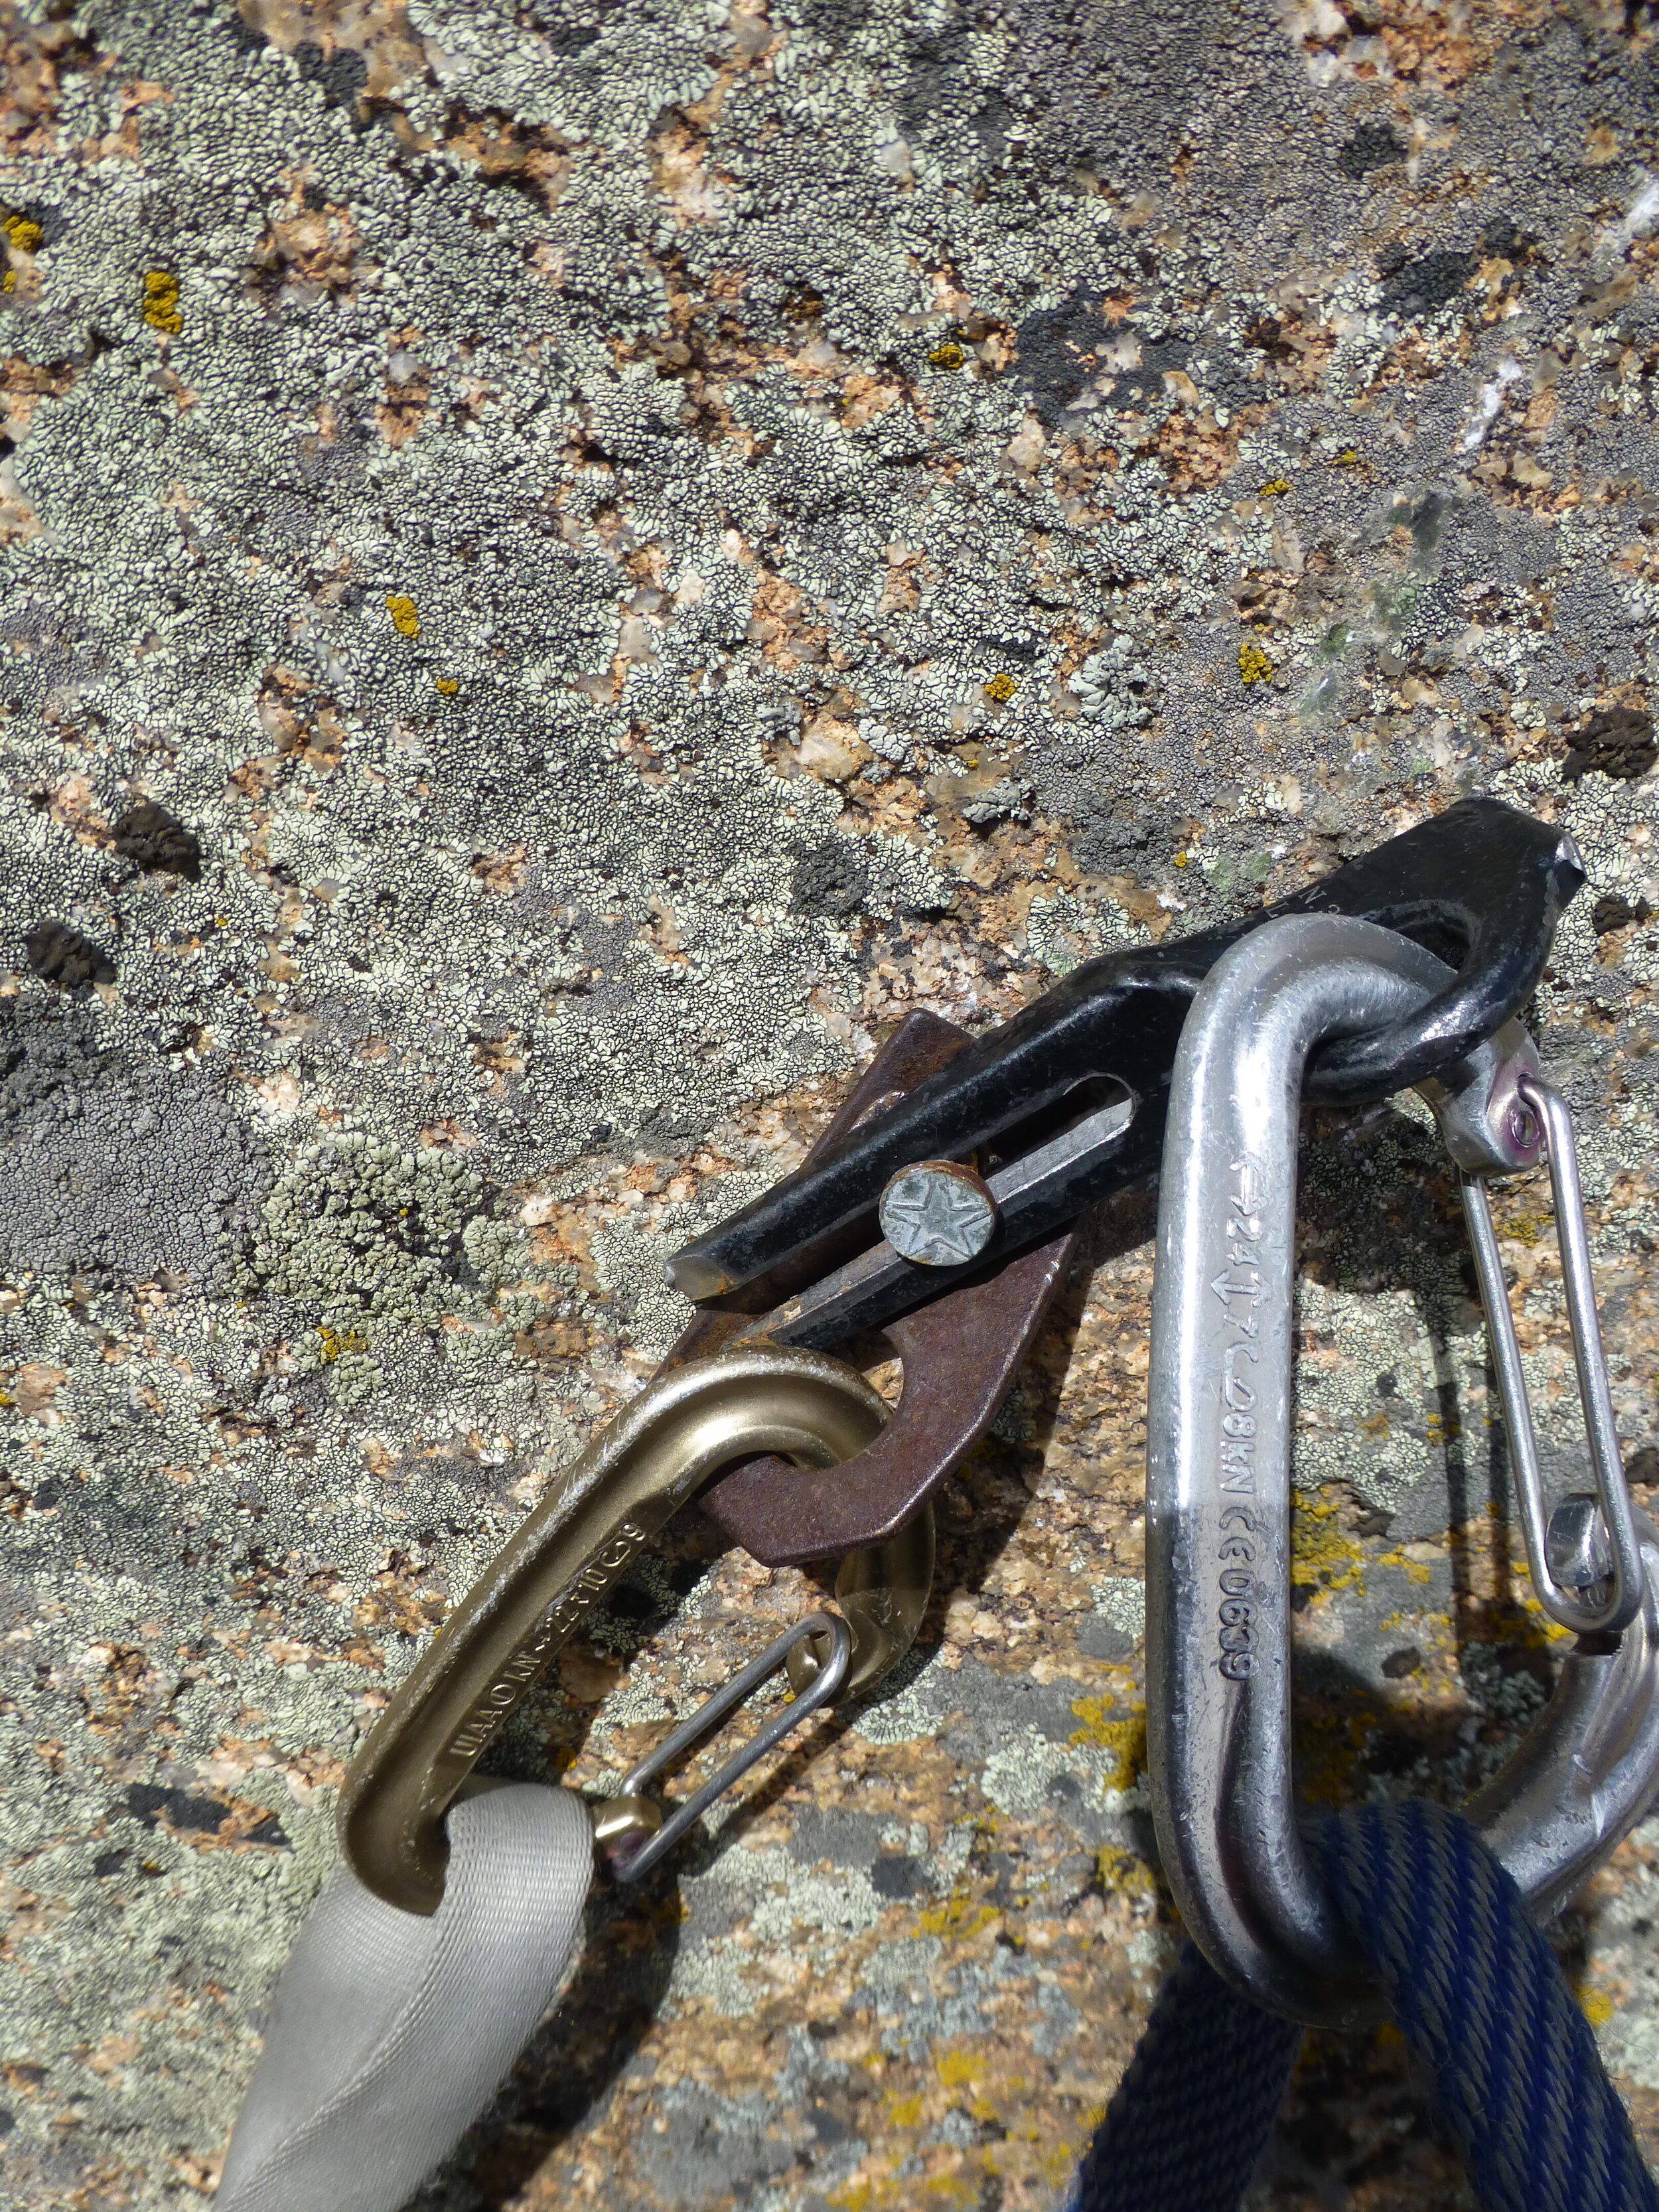
Place the tip of the fork under the edge head of the bolt, and hammer it in to pull the bolt away from the wall. It’s nice to have a thin folk to get started.
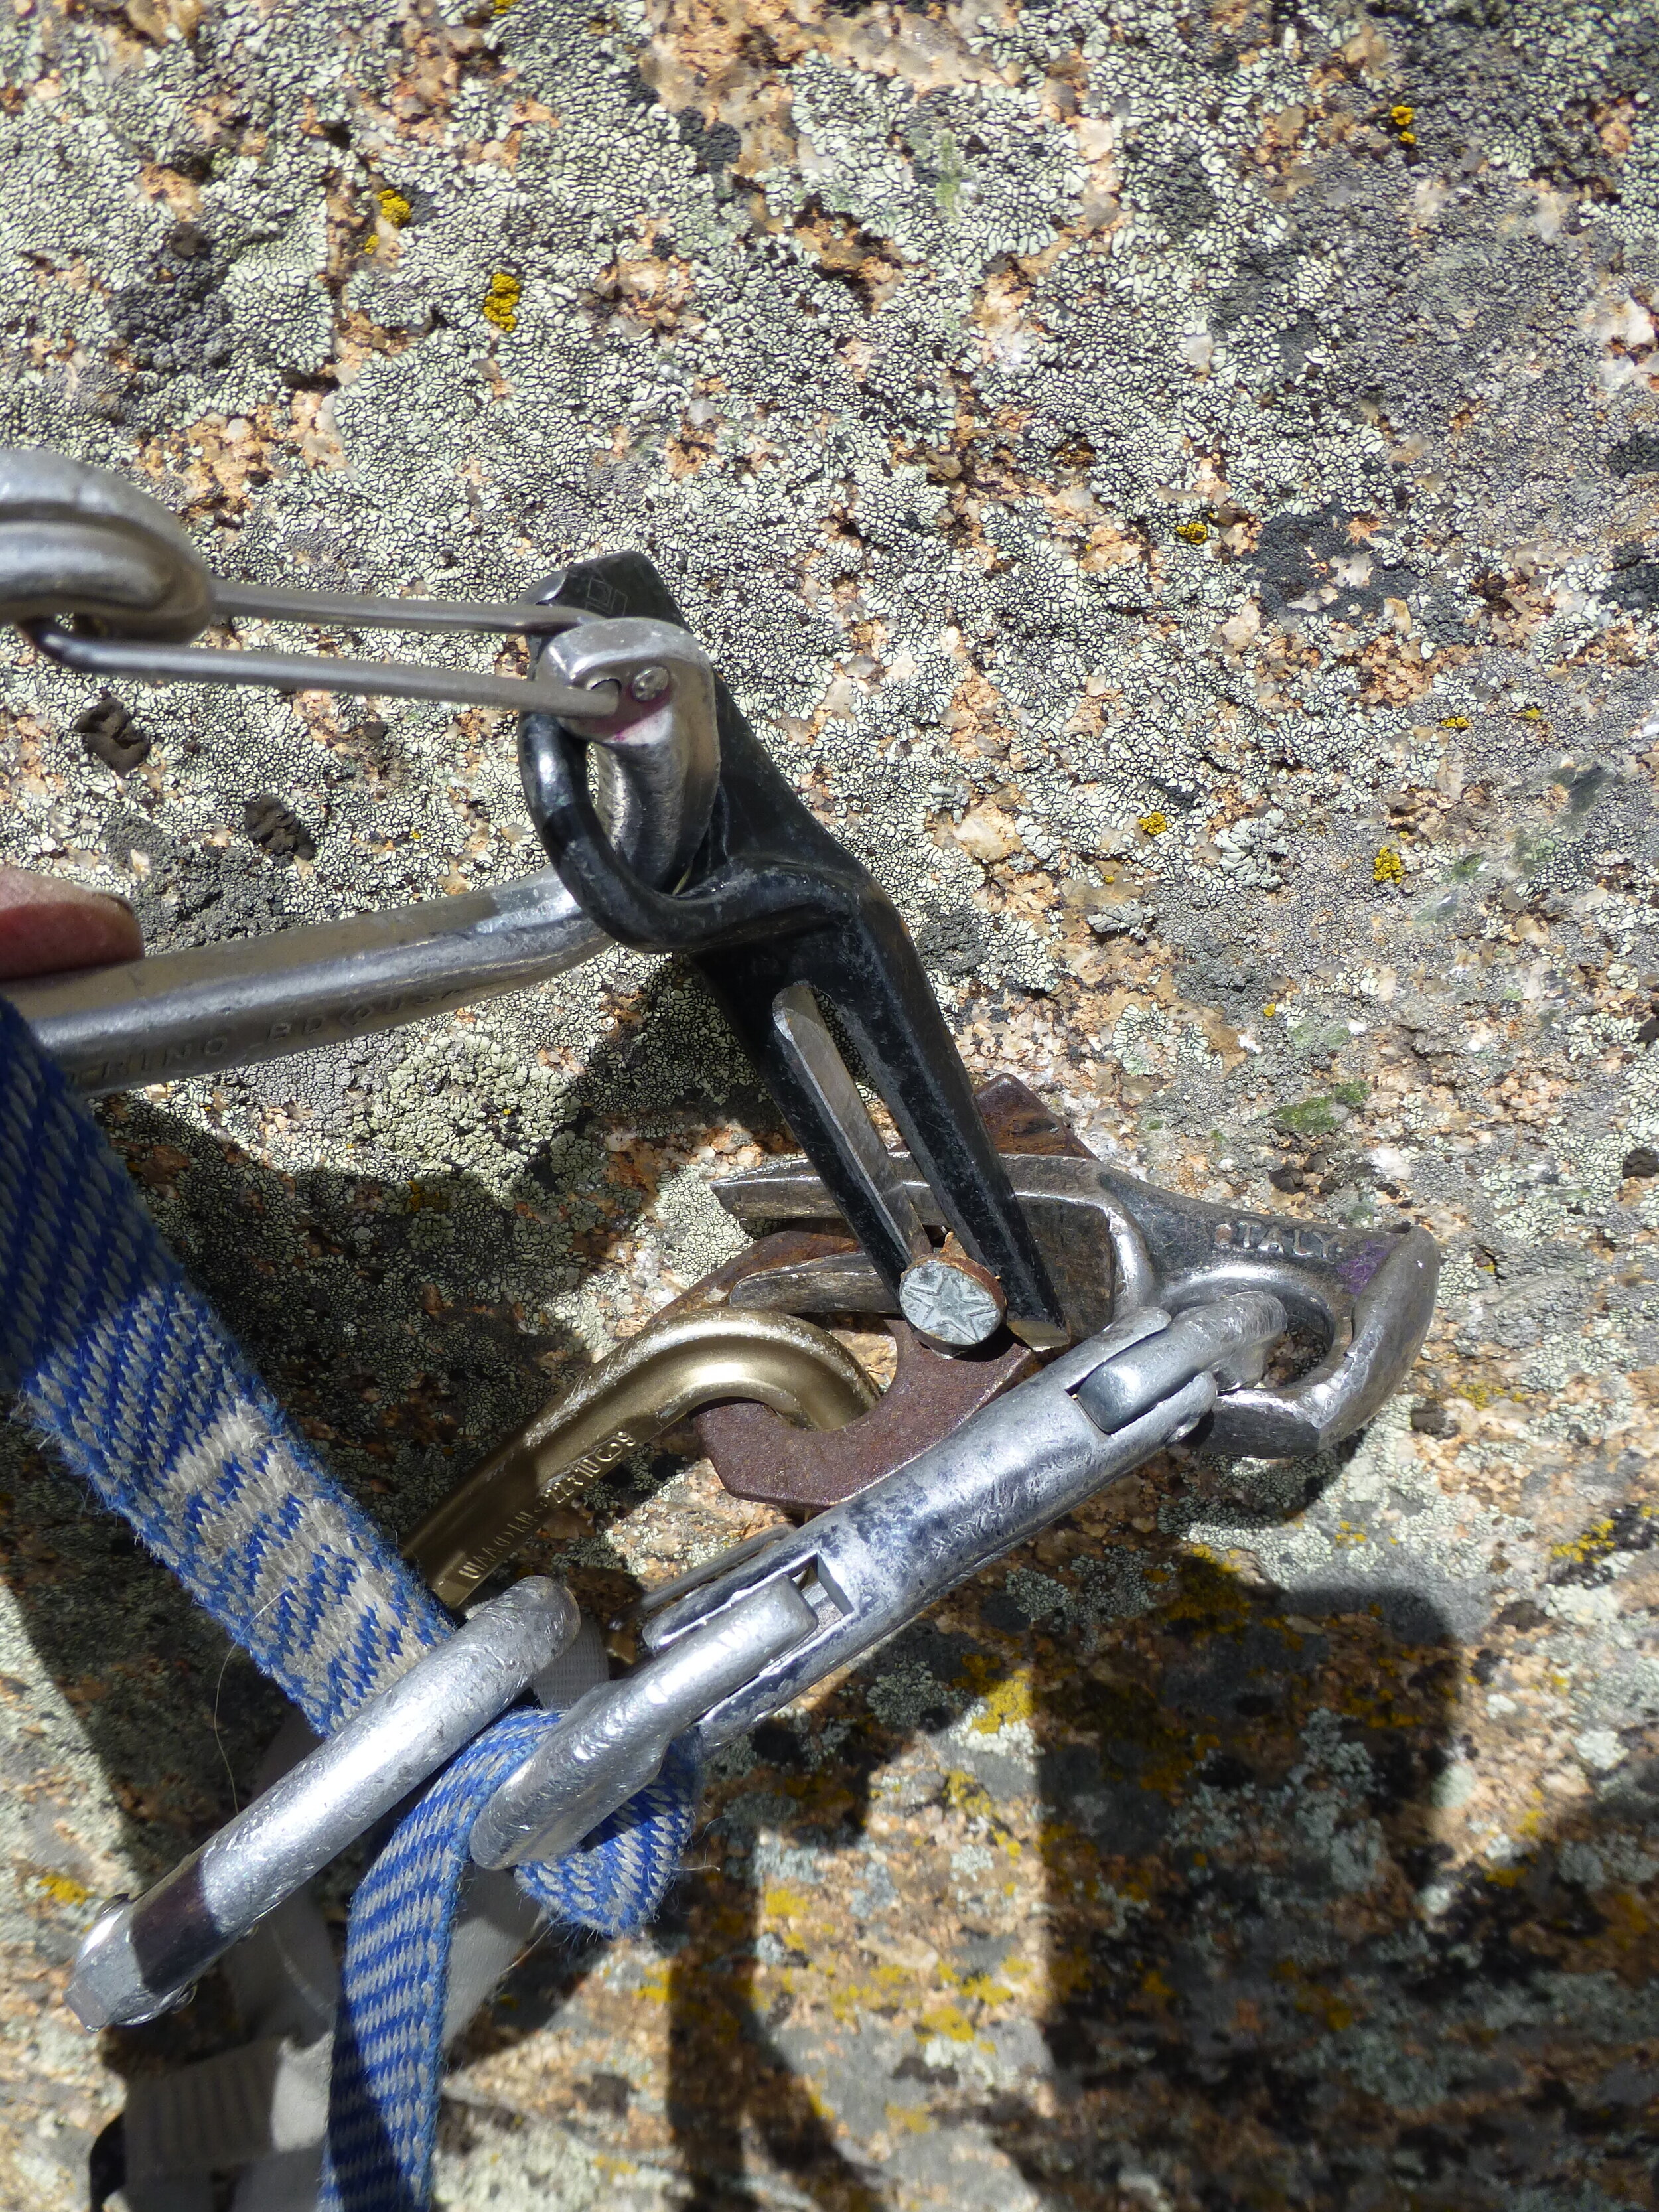
As the bolt starts to come out you can use a pry bar or stack tuning forks to keep driving it out.
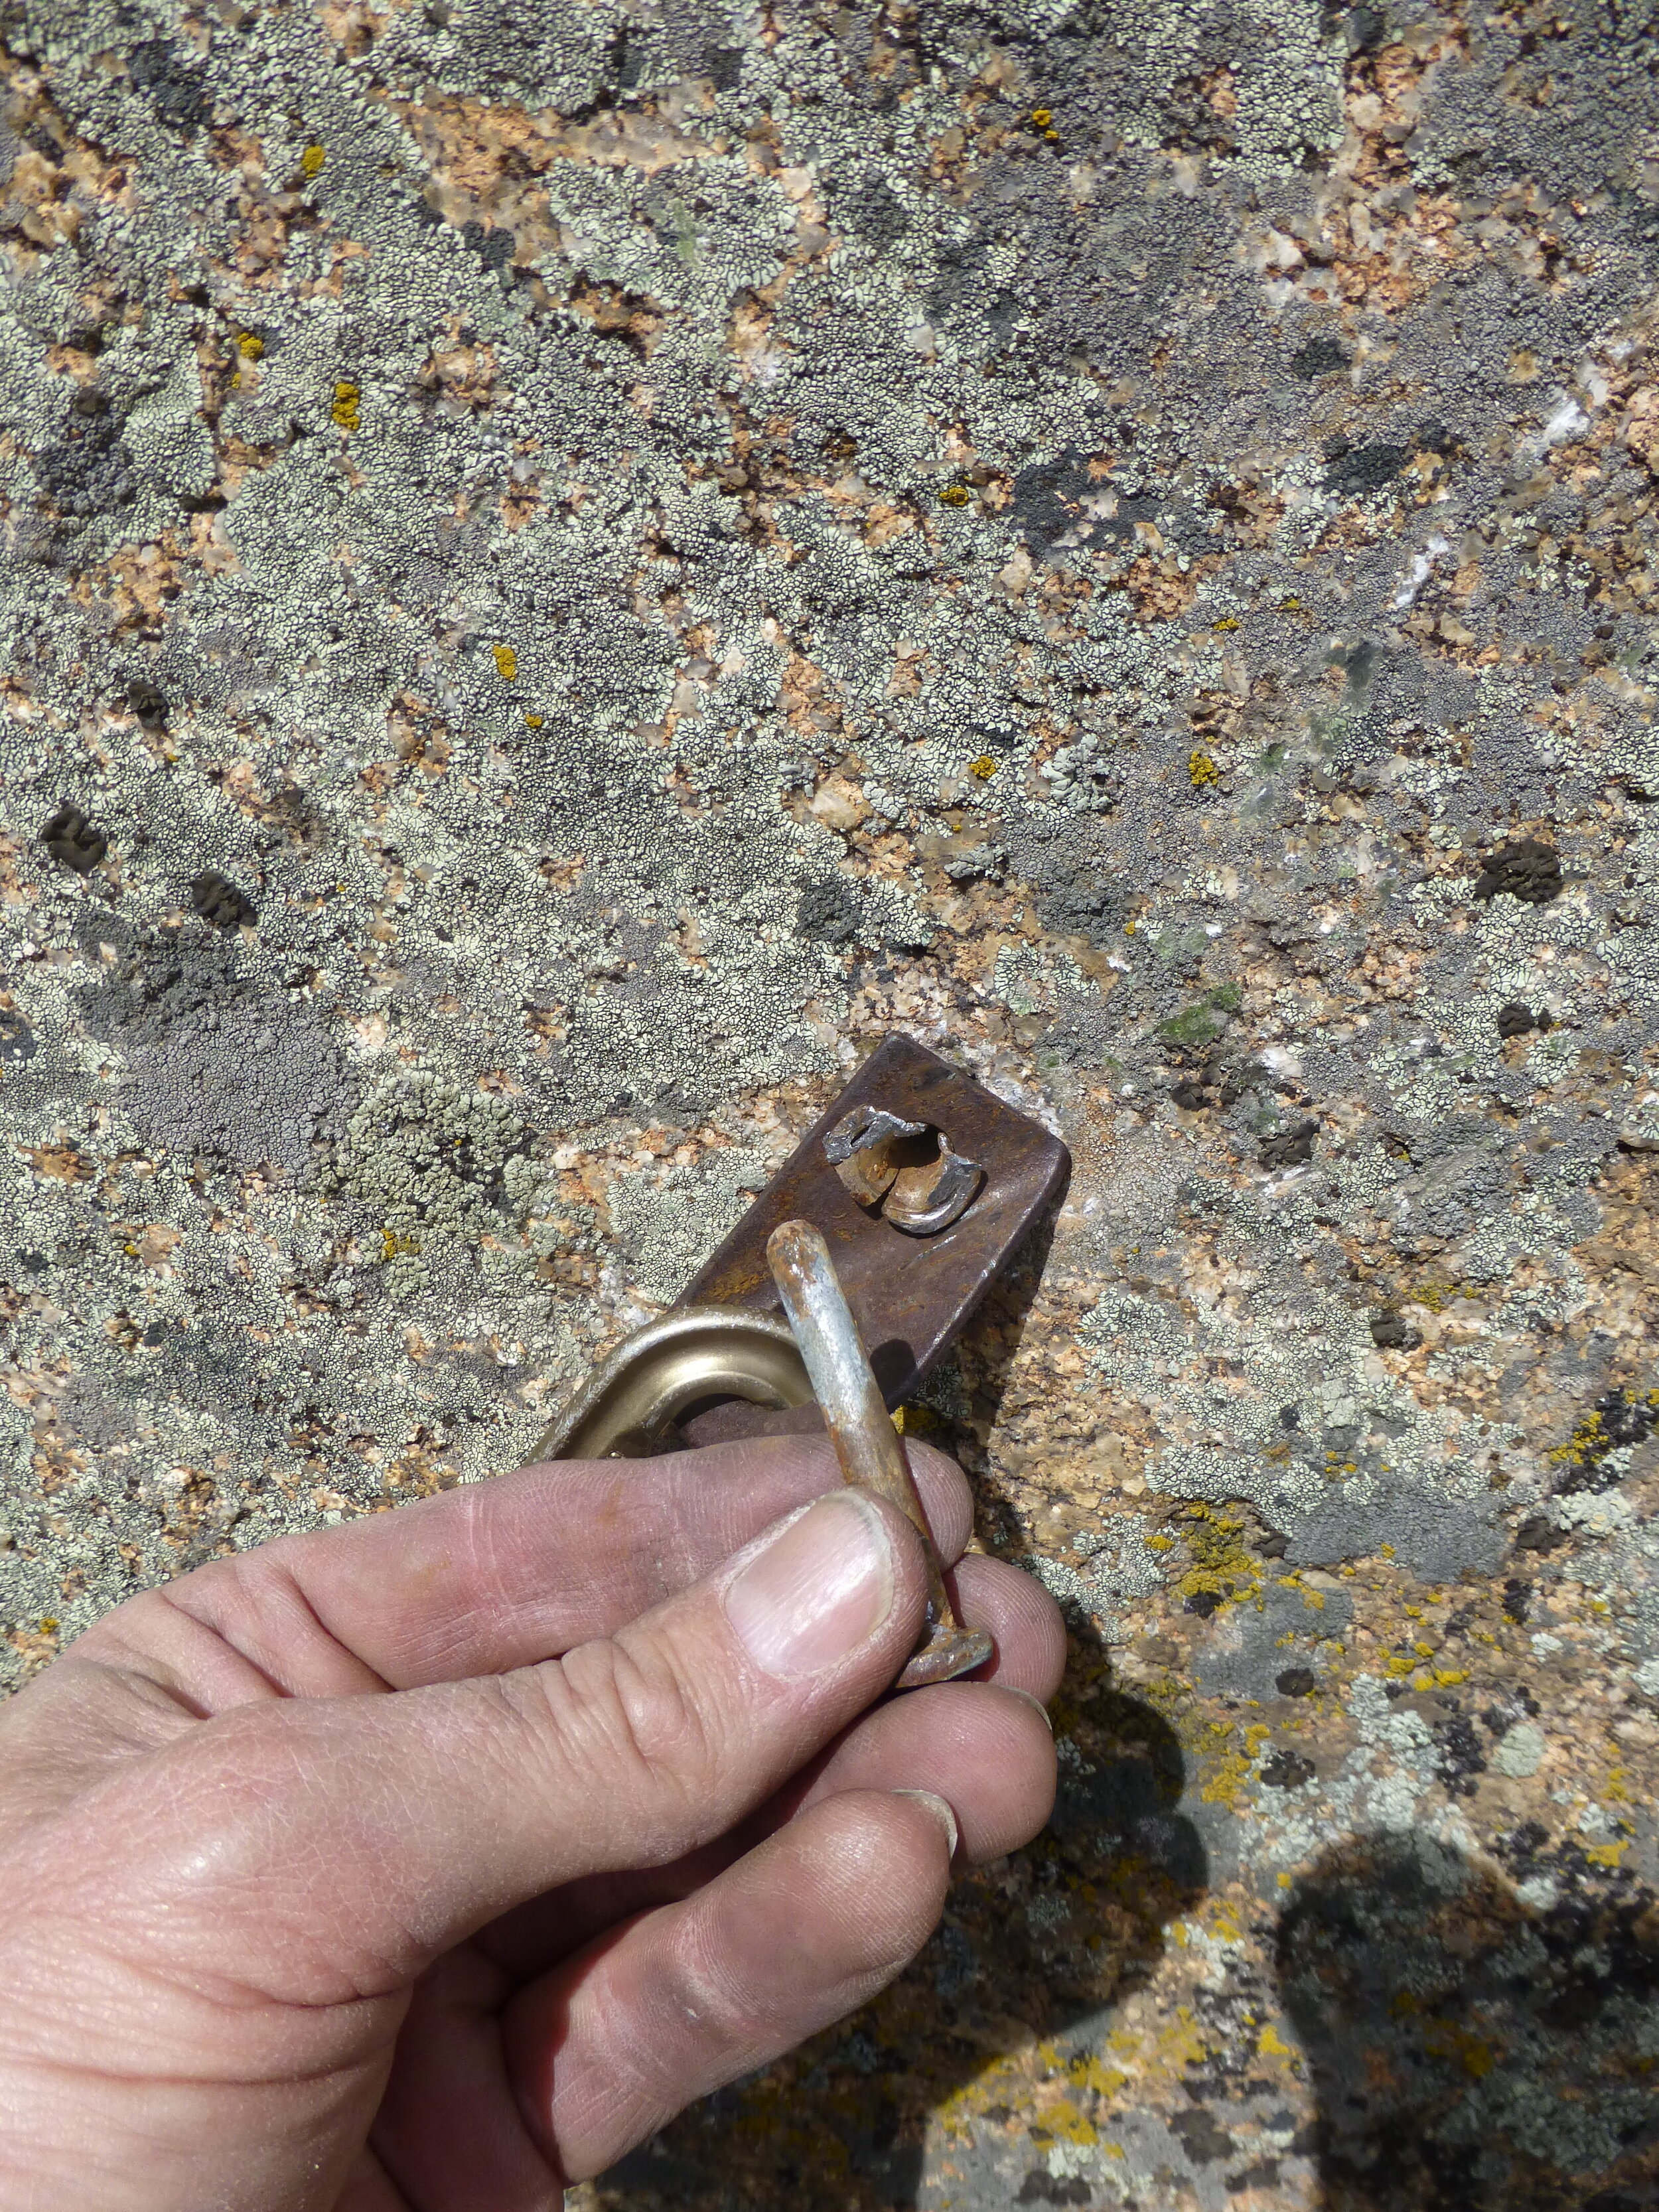
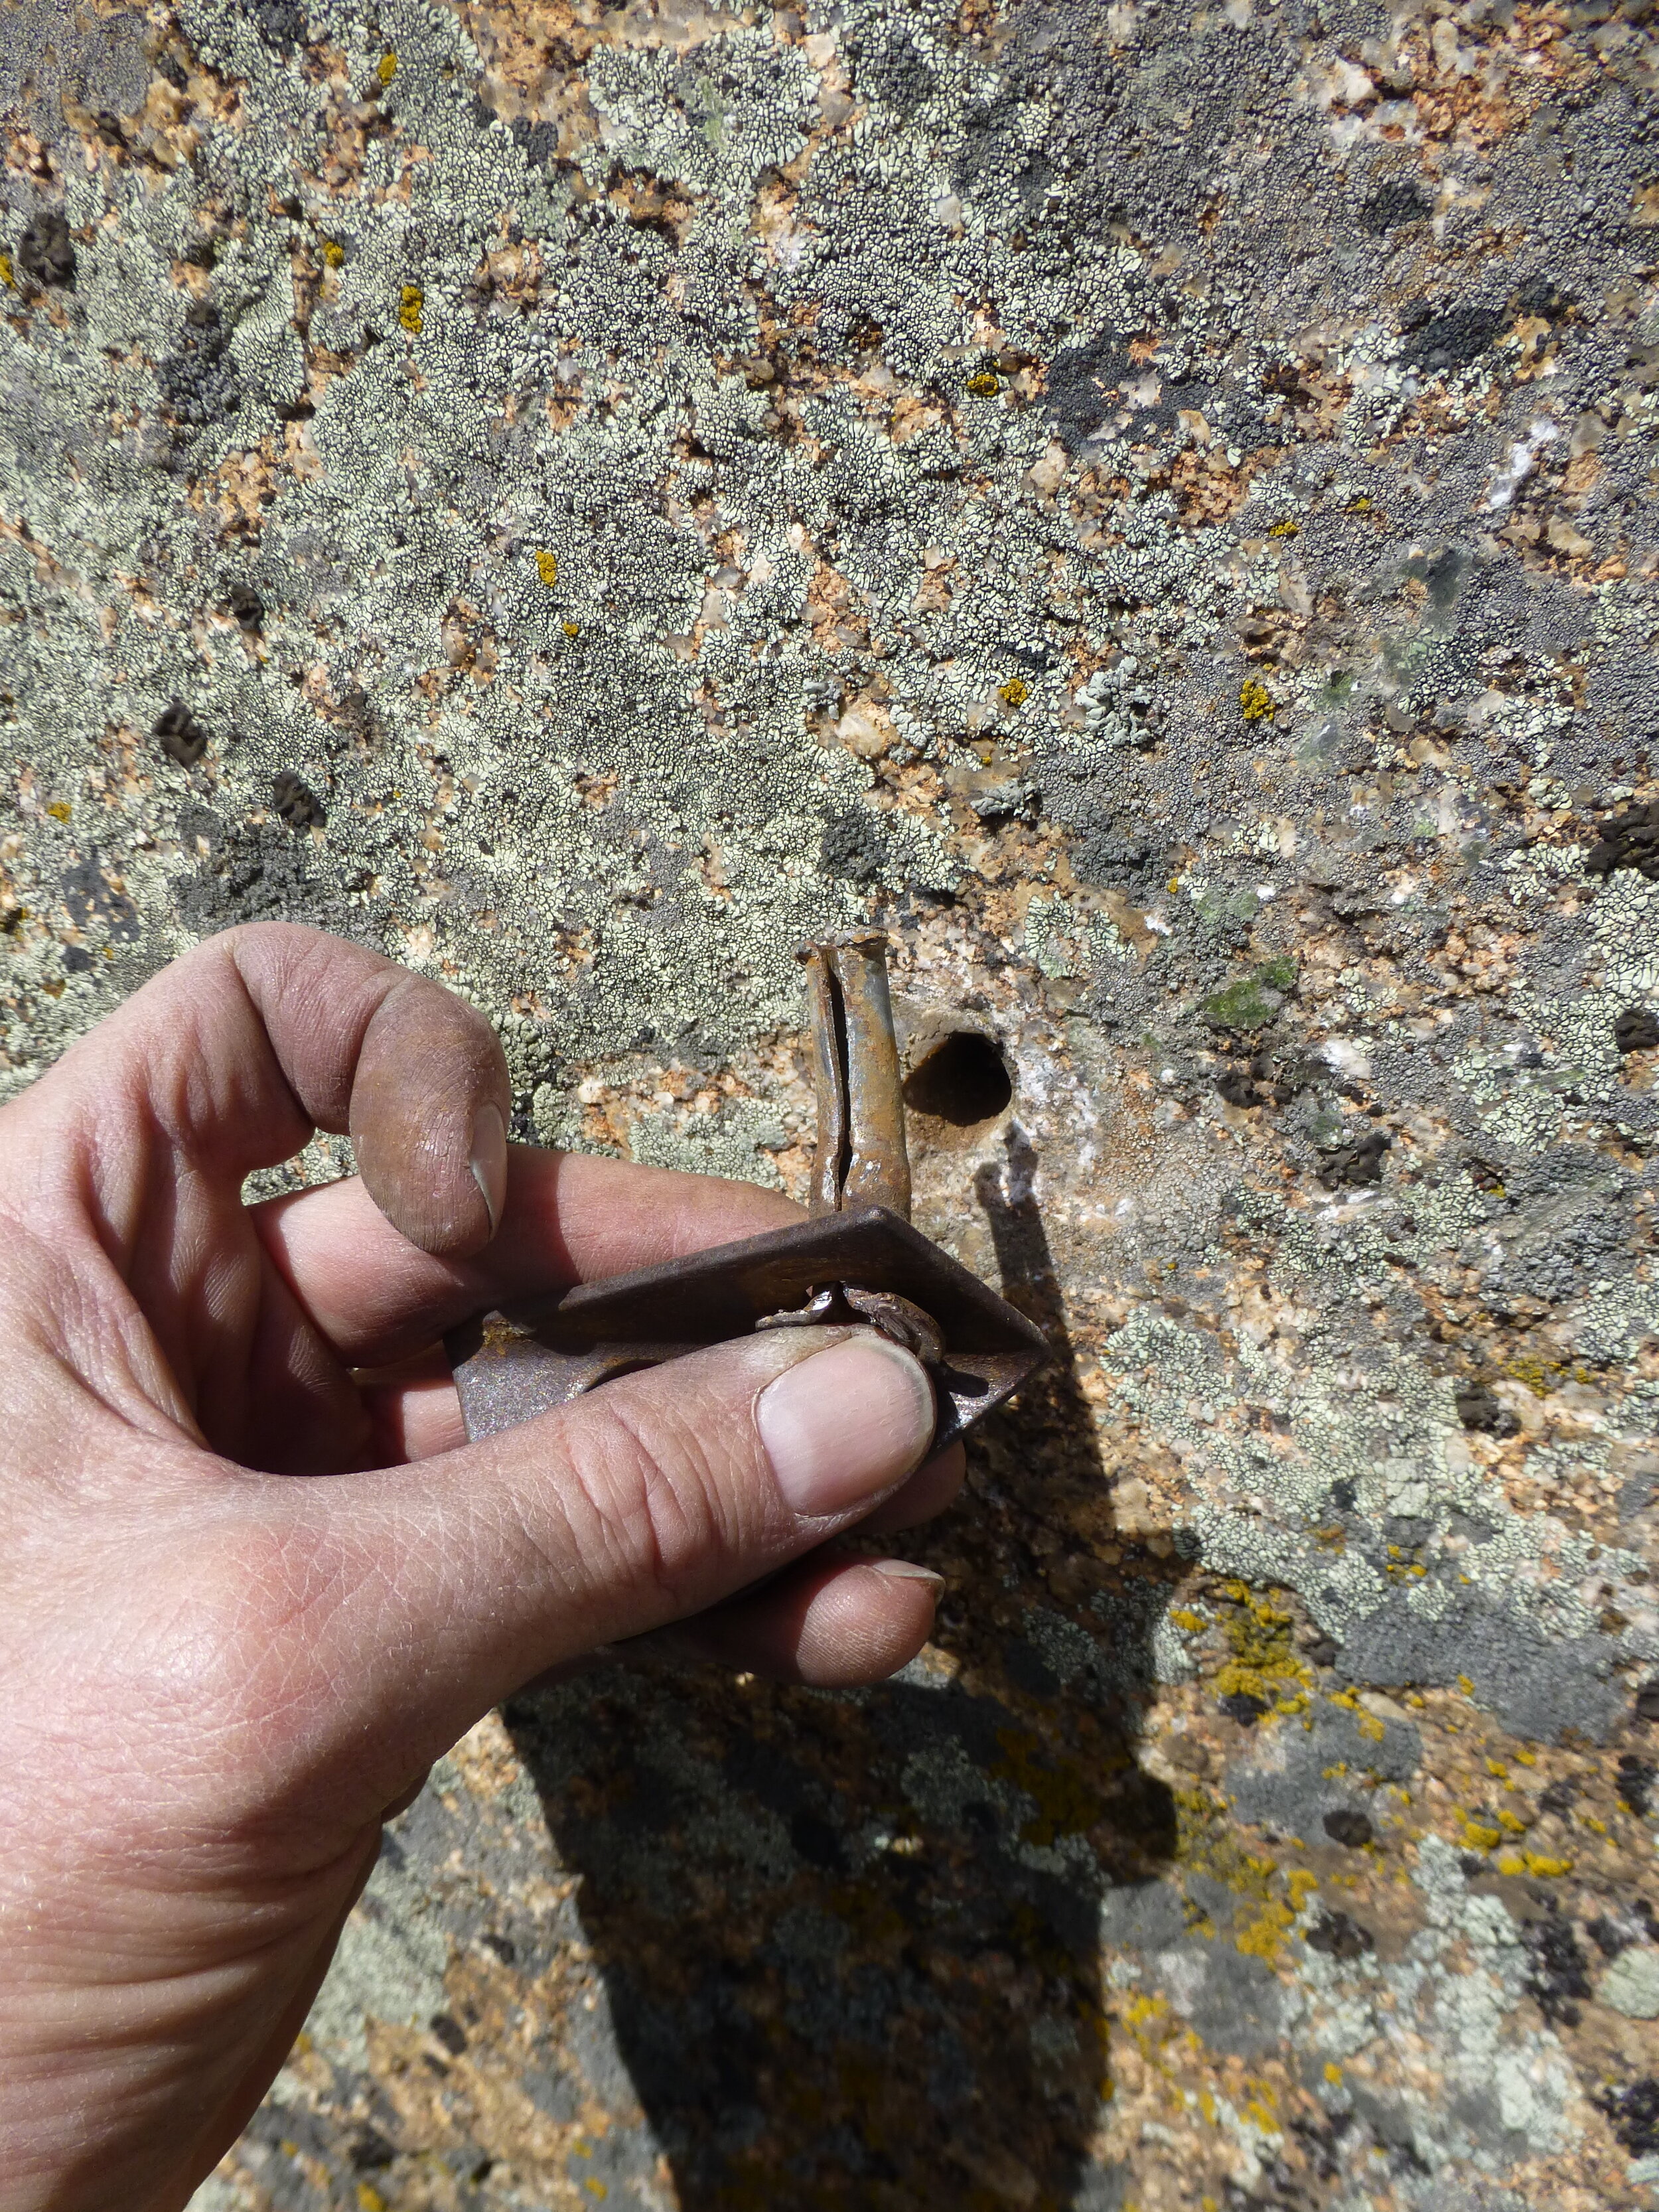
Once the bolt is out use your funkness device to pull the hanger and sleeve out.
If replacing a 1/4” Dryvin you can proceed to preparing the hole for the new bolt.
If replacing a 3/8” or larger Dryvin screw your lag bolt into the soft lead clip with a hanger attached, and pull it out.
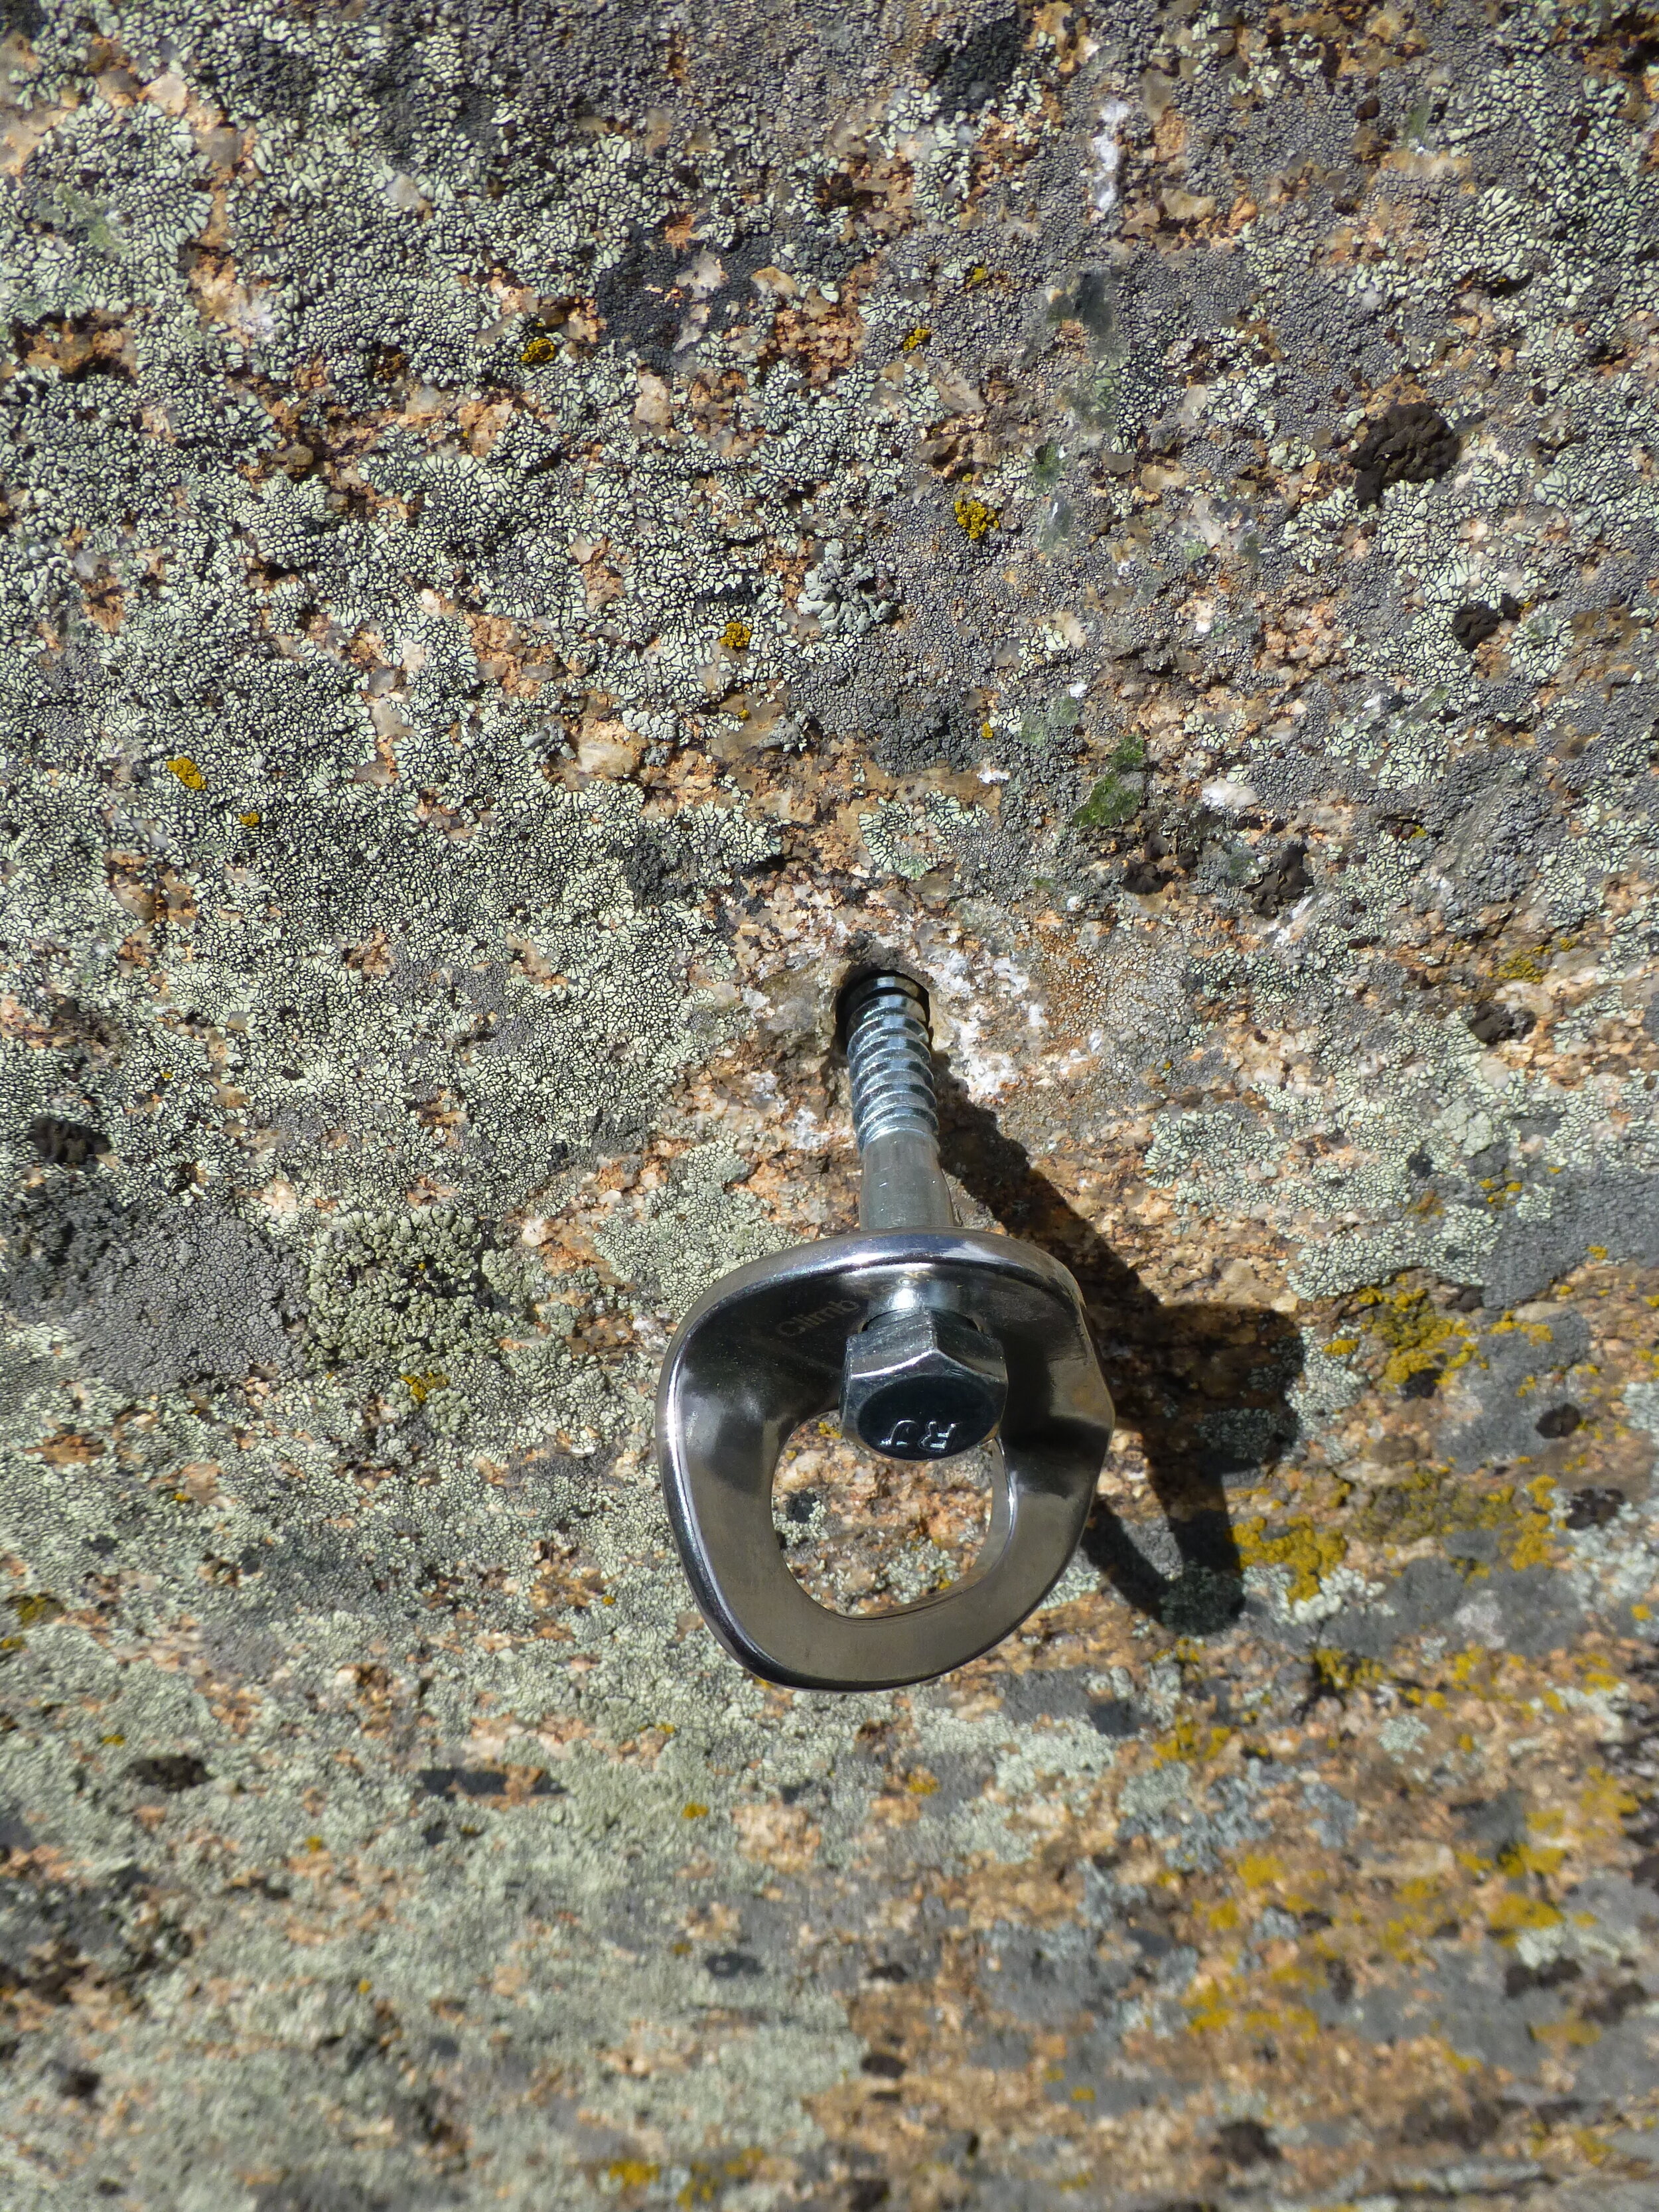
inspect and prepare the hole:
When reusing a 1/4” or 3/8” hole it is best to enlarge it to fit a 1/2” bolt as the old hole will likely be misshapen and oversized for a bolt of the original size, it is very important to drill the correct size hole for the bolt being installed.
Drill the hole out, clean it and install the new bolt according to the manufacturer’s specifications. This list of tools does not include items that will be needed for installing the new bolt, refer to the instructions for the type of bolt you are placing by clicking here.